
The RSA project was our second project for the first semester and a project to carry out individually. This project is split into two parts; a case study that provides information about the focus points of one of the RSA briefs with research and potential solutions for the problems at hand, and the practical side of the project, where we would create something that fits along our study path that aims to help understand or also provide information and solutions about the problems outlined in one of the briefs. This page will focus solely on the practical side of the project, as the case study isn't too relevant to my role as a game designer.
The RSA student awards aim to offer a platform for students to showcase their creativity and innovation and encourages them to push boundaries and tackle real world problems. Every year, a new set of RSA briefs is offered to students to give them the opportunity to gain recognition from industry peers and open new potential future pathways. The year of 2023, there were six briefs for us to choose from, all posing real-world problems or situations that required solutions. Below is a list with a brief description of what the brief is about and/or the problems that need facing:
Our choice of brief was based on if we had any previous knowledge on the situation and if we felt comfortable to create solutions for the brief. Immediately after some reading of the briefs in more detail, many ideas were starting to flow around, but one stood out more than the others.
I decided on working on Brief Two: Flourishing Places as I had previous knowledge with A-Leve experience in Geography and Environmental Science, but also that the Idea I had created for the practical side of the was one that I resonated with the most. As a Game Designer, the most appropriate way to tackle this brief, was to create some sort of game or interactive experience.
To provide some more context, the brief really outlined how our everyday actions as humans has led to irreversible damage, and also how the built environment plays a large role in contributing to this, but the built environment can also be managed to help combat the problems we face and make sure that we can support future generations to come and keep them on track to combatting the climate issues that keep appearing.
So, the task was to create some sort of game or experience that could teach and/or highlight the irreversible damage humans have caused and how the built environment can be used to combat the issues created from this damage. My immediate thought was a city builder/management game, as there is always a large focus on built environment in games like these.
After some general research into other city management games like Cities: Skylines (Cities: Skylines, 2015) and Surviving Mars (Surviving Mars,2018), I had devised a list of different mechanics that would feature in the game. It was important to put some unique aspects into the game to make it different from the rest. As AI concept art was a big focus in our other project this semester it felt fitting to include some in this project, so there will be some concept art, created with Bing image creator (Bing Image Creator, 2023), accompanying the lists below.
The Game Brief: In the year 2067, humans have damaged the Earth to an irreversible state which has encouraged the development of space travel and has pushed us into a new age in which intergalactic travel to nearby systems has become possible. Astronomers have located a new planet with previous signs of life and varying conditions that can all be managed to create a habitable city. This is our only hope. As one of the most successful and innovative architects of all time, it is your job to build and manage a city in each of its five major regions, with the goal of keeping environmental damage to the planet at a minimum, so human life can continue to flourish into the distant future.
The Core Mechanics: One of the most important things to decide would be the games mechanics. The list would have to follow the standard for city builder games but should also include some unique mechanics rarely found in other games. Below is a list of all currently decided mechanics:
The Different Regions: Nova Utopia has five distinct regions all with their own environmental issues, thanks to the work of the planets previous residents, or the planets environments itself. However, the damage to this planet is not even close the damage humans had caused to earth, and it is possible to create a city that can thrive, mitigate or even remove the issues that we will face. The different regions are as follows:
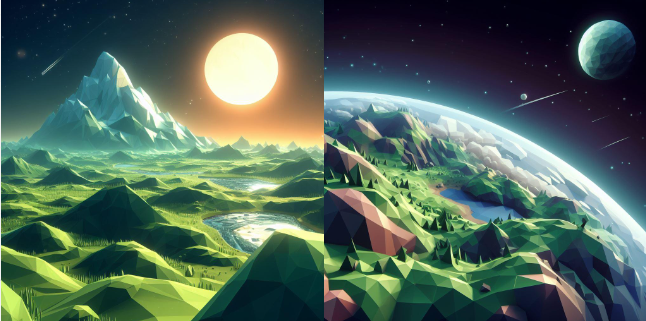
Prompt Used: low-poly stylised video game temperate planet concept art.
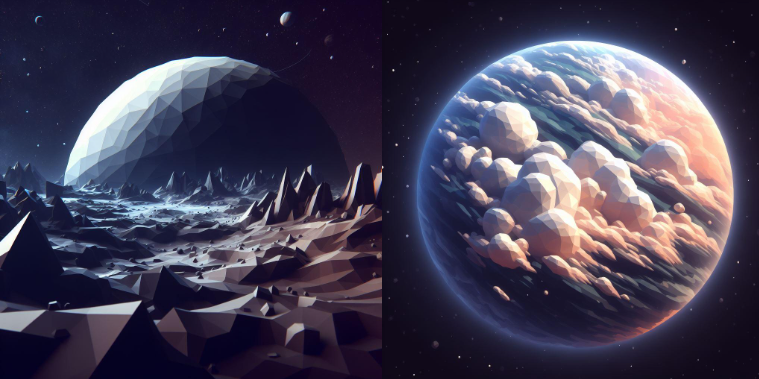
Prompt Used: low-poly stylised video game low-light planet concept art.
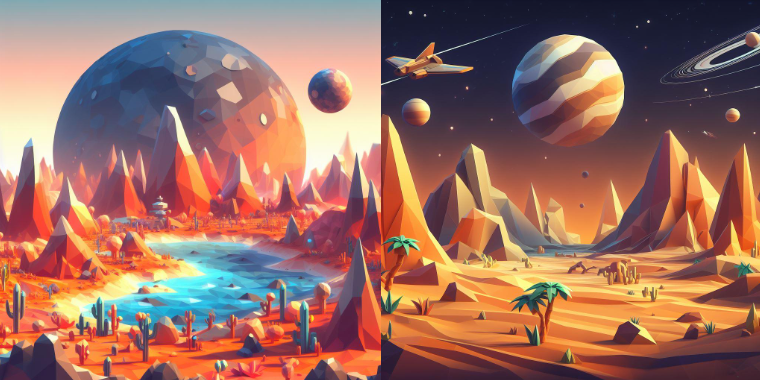
Prompt Used: low-poly stylised video game desert planet concept art.

Prompt Used: low-poly stylised video game water planet with islands concept art.

Prompt Used: low-poly stylised video game cold planet concept art.
What You Will be Building: The game would not be complete without the built environment, so it was important to come up with a list of infrastructure with a variety of buildings, all of which would be necessary to creating a thriving city. There are six different building categories currently, each of which have their own unique ways in which they are useful to creating the best city. Each building will have a level system, always starting at level one, and upgrading when resources are allocated to do so. Buildings will be able to advance through three levels, with each level increasing the sustainability and environmental friendliness of the building. In some cases, the output of the buildings will also benefit. Below is a list of the different building categories and their different roles.
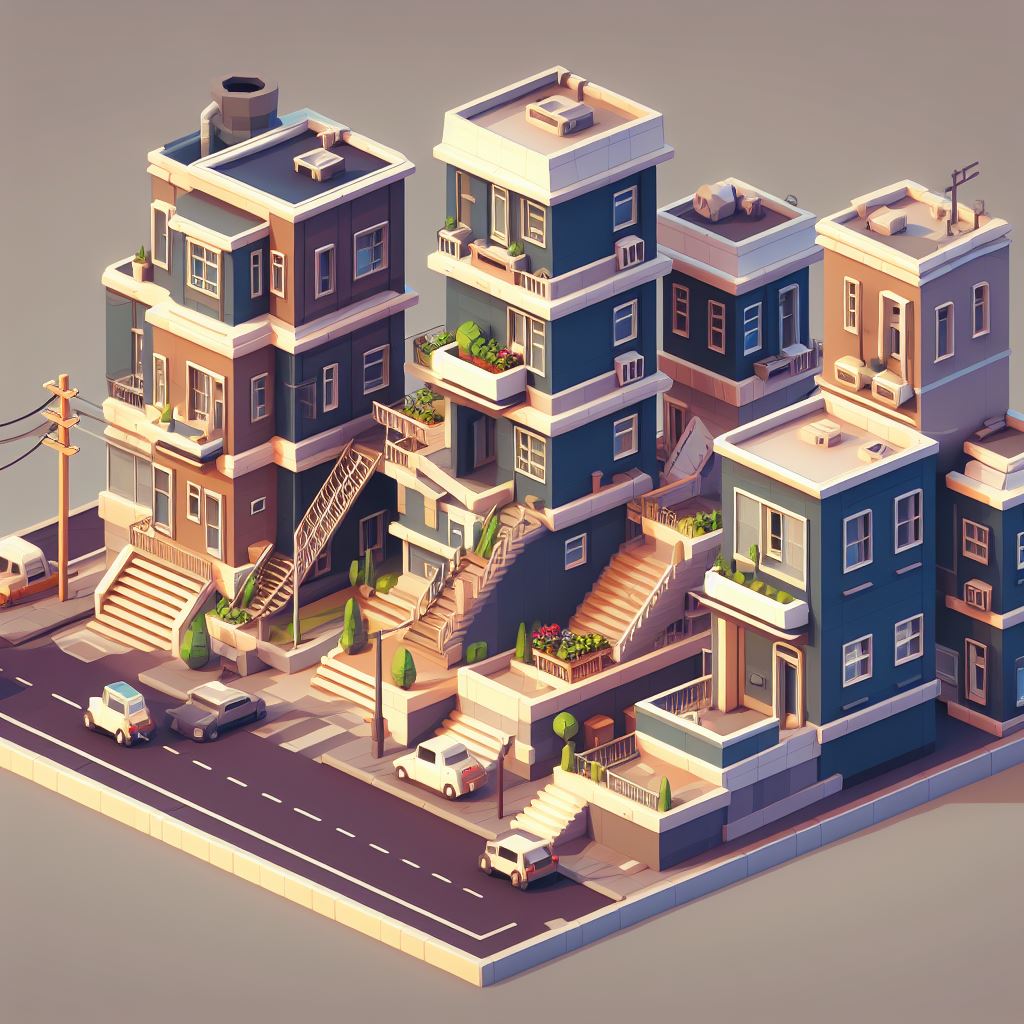
Prompt Used: low-poly stylised video game apartments concept art.
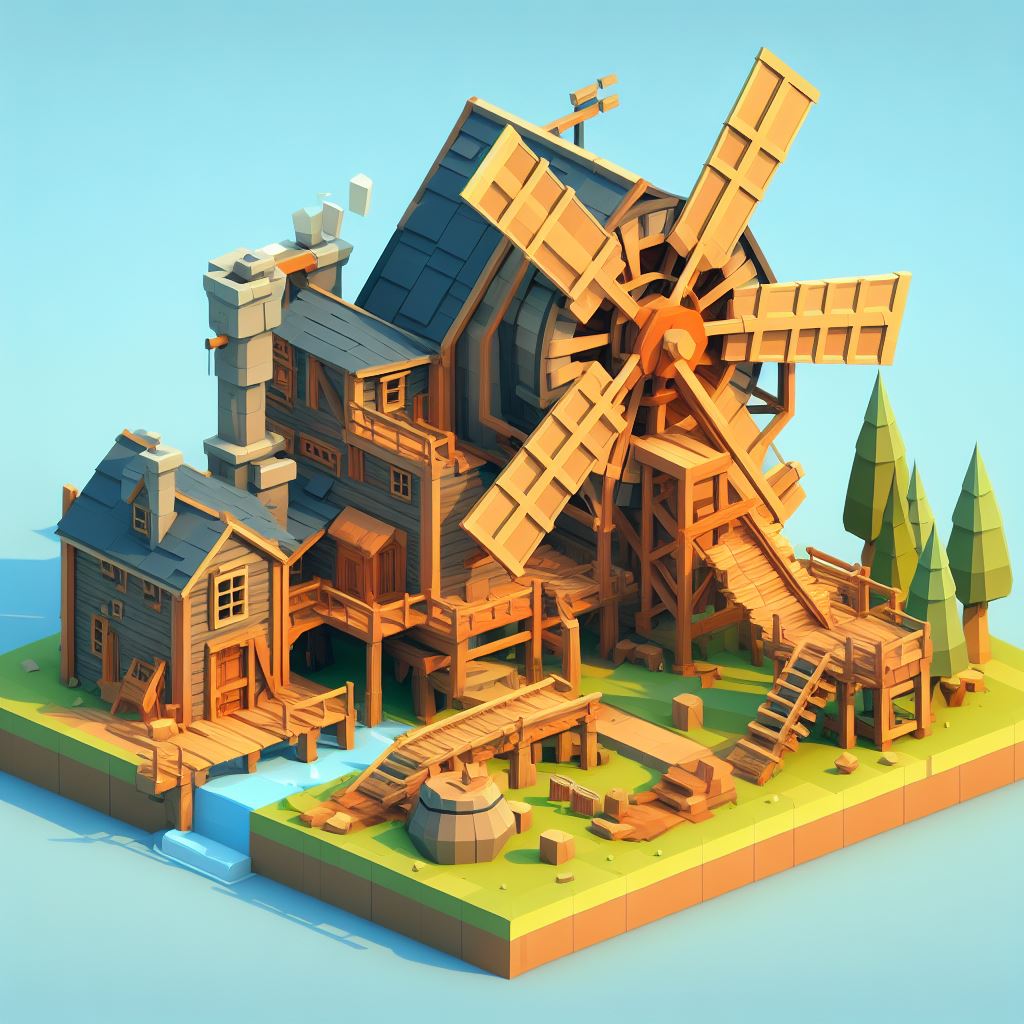
Prompt Used: low-poly stylised video game sawmill concept art.
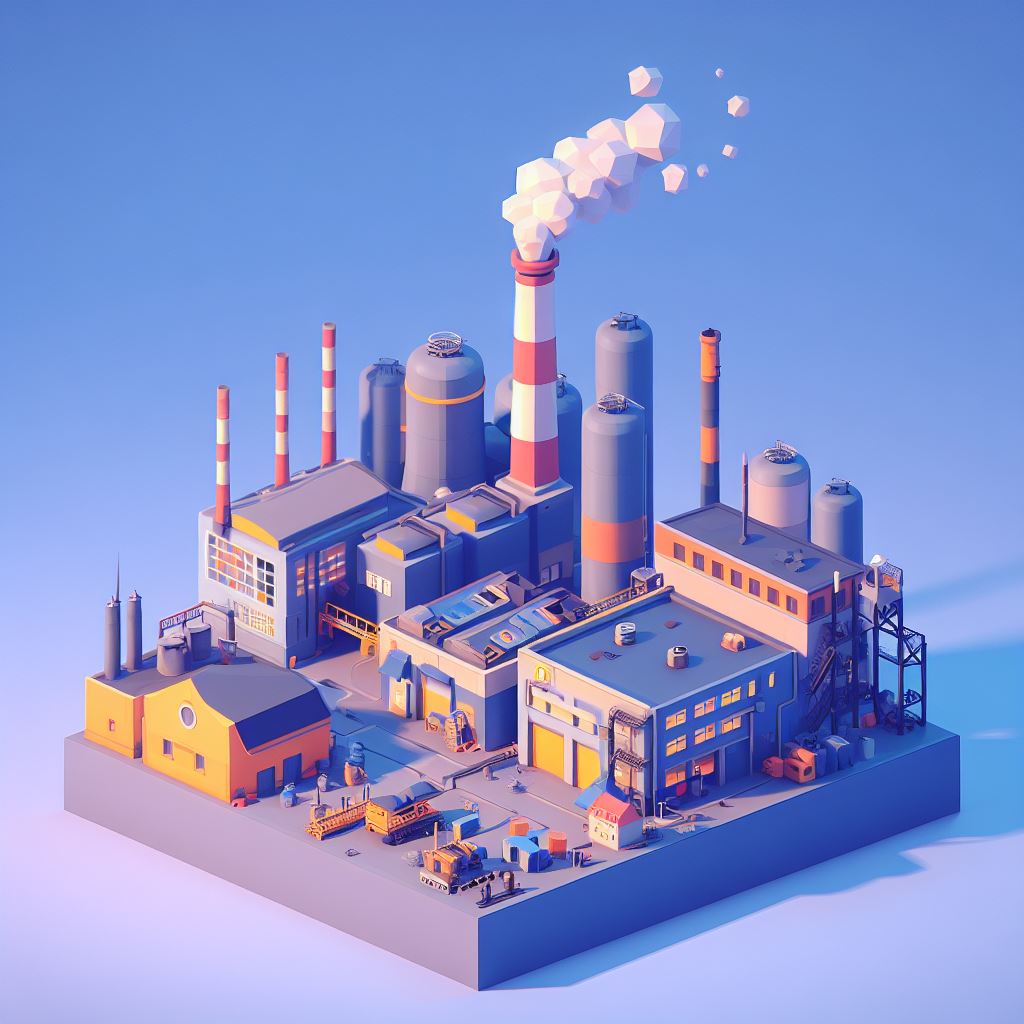
Prompt Used: low-poly stylised video game factory concept art.
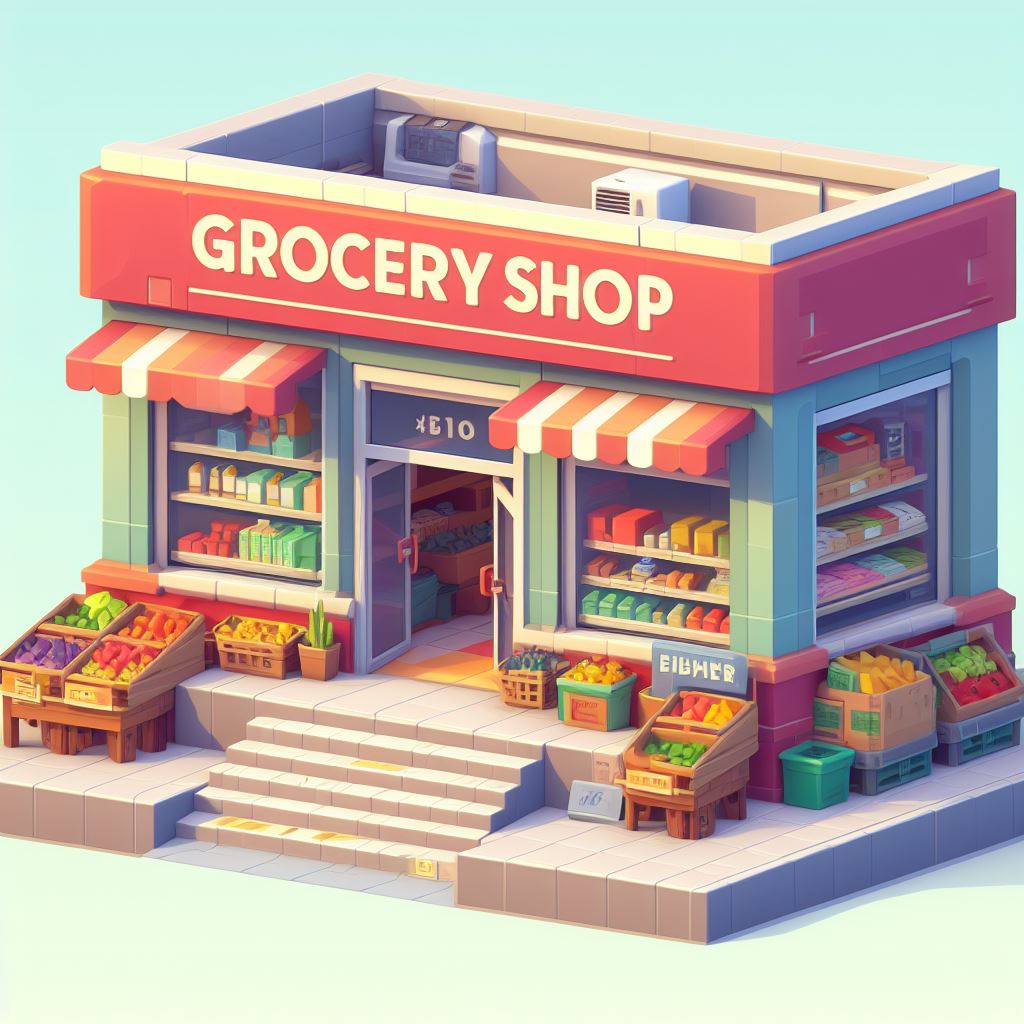
Prompt Used: low-poly stylised video game grocery store concept art.
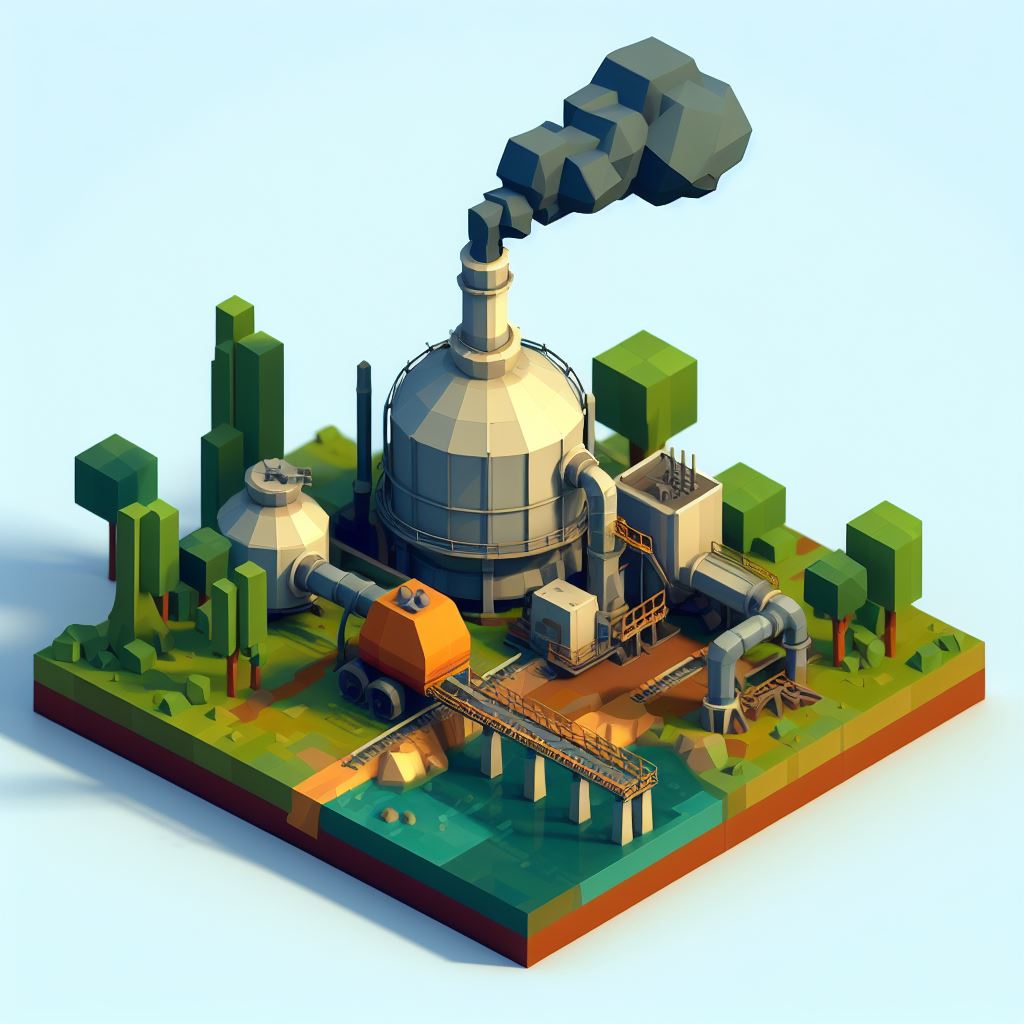
Prompt Used: low-poly stylised video game sewage management plant cocnept art.
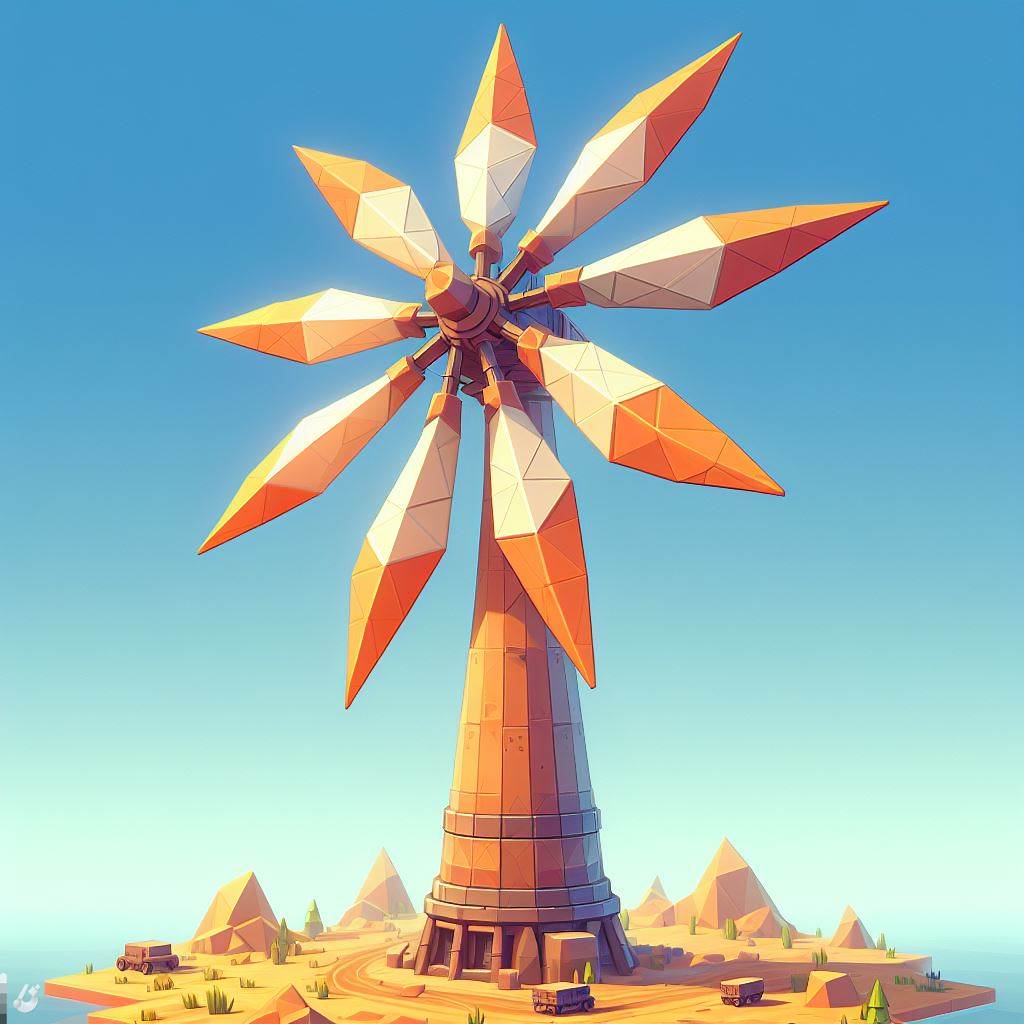
Prompt Used: low-poly stylised video game wind turbine concept art.
Now we move onto the development of the 3D models for the game assets. As seen in the concept art above, the art direction is very stylised and chunky, which I felt was a perfect fit for this game. I also used games like Astroneer (Astroneer, 2016) and No Man's Sky(No Man's Sky, 2016) as references for the art styles and some of the previous mechanics of the different regions also. As of the end of this project deadline, there is only progress on one building from each category and they are all still a work in progress. As mentioned before, each region uses a grid system for placing buildings. Below, alongside the descriptions of each model, the relative size of the model in blender and what that equated to in-game will be stated. The general rule I had set before developing the models was a 3mx3m (X & Z) area in Blender (blender.org, 2002) would equal 1x1 grid-square in-game.
Housing: The first model to be created for the housing category was the apartment complex. This stage one apartment takes up 3mx3m area in the modelling window, which equals a 1x1 grid square in-game.
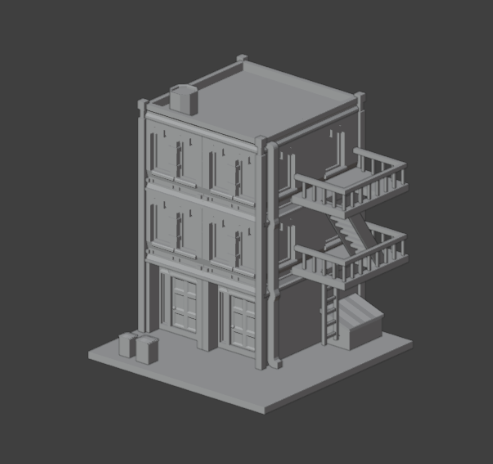
The development was quite simple here, starting with a plane for the foundation and then created doors by using a plane and a lot of loop cuts and extrusions to create the door-details, before arraying the door into the two front walls. I then used simple stretched rectangle to create corner supports and guideposts for the walls, and then created the front wall widows by again using planes and a lot of loop cuts and extrusions. I used the same method to create the windows on the side and covered the open walls with a simple plane. For the roof, I squashed a square mesh down, places it on the top and inset the top face. I took the new face and extruded it down then added some details like the indents around the small walls and the roof-details. The gutters, bins and dumpster were created using cube meshed which were then shaped with extrusions and insets. The fire escape was a bit more complex. I started with creating the floor with a squashed cube and extruded it to create a larger floor with room for steps. I then used an array modifier on some small rectangles to create the railings and used a similar method for the steps, the only difference being the direction of the array and the amount duplicated. Finally I used an array on the top floor of the escape (the stairs were a separate object) and added a ladder to the new bottom floor by using rectangles and yet again an array modifier.
Resource Generation (Sawmill): The sawmill is the first resource generation building and probably my proudest piece of work from this project. This specific version features a built-in watermill so it can generate some of its own electricity. The size was a 6mx6m area in Blender which equals to a 2x2 area in the grid in-game. The development was a lot more lengthy so I will shorten it down.
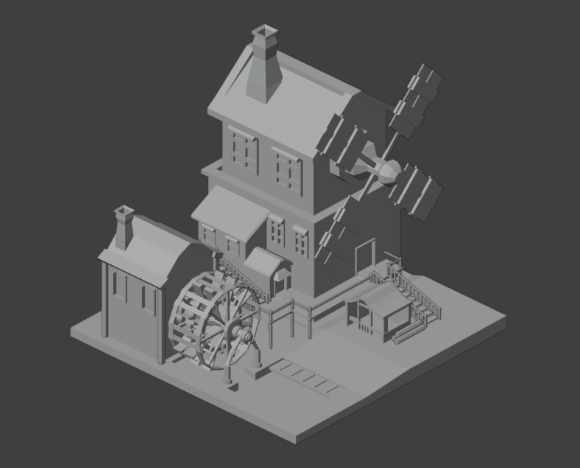
The foundation started as a plane and was shaped with extrusions and insets to leave a river, pond and some uphill area. The two buildings were extruded up from the foundation and the windows were face insets from the faces on those buildings and detailed with loop cuts and more extrusions and insets and the odd bevel modifier to add some roundness to the windowsills, the same for the doorways too. The walkways were created by extruding thin platforms from inset faces on the buildings and the railings and stairs were made with the same method stated in the apartment building development. The roofs were made but extruding the top faces of the buildings and shaping them to that tilt and then taking the faces with an inset to get an outer rim. The chimneys were then created by insetting the roof faces and extruding upwards with the occasional change of width. The first step for the windmill was to extrude an axel outward from the building. I then created four inset faces for the start of each blade, extruded outwards along the normals and then used more extrusions to create the shape of each blade. The watermill was created the same way but with a lot more face insets on the axel and the joining of faces to create the circular frames that run around the whole watermill. Finally, the small shed was extruded up from the foundation and created in a similar way to the buildings and the logs that lay beside the shed are just simple cylinders.
Resource Refining (Factory): The factory is the first addition to the refining category and will be used to create new resources from basic mineral and organic resources. This factory is sized at a 3mx6m area in Blender equalling 1x2 in the game. The development process is shown below.
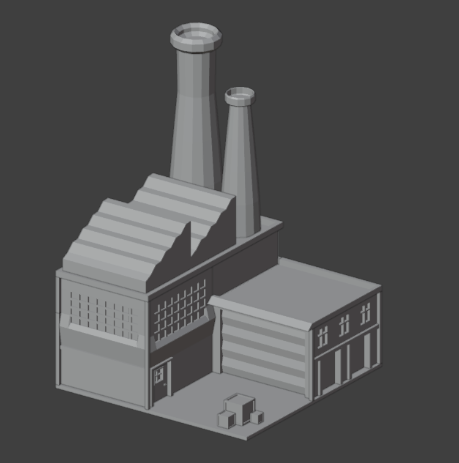
Firstly, the foundation was created with a plane that was extruded to add some thickness. The buildings were started by insetting some faces into the foundation and extruding upwards and then outwards to get the L-shape building seen above. The windows and doors were made with the usual methods of insetting, loop cuts and extrusions. The large garage door was created with an inset face from the whole wall, some extrusions were added to create a frame, and then the inner wall was subdivided seven times, and the odd horizontal edge was moved outward to create the jagged edges of the garage door. The boxes were simple cubes with added the insetting of faces and extrusions, and finally the smoke towers were a separate cylinder object, which were re-sized at certain heights and at the top, the edge was extruded, fattened and the top face inset, before extruding the new inset face down. An array modifier was then used on the tower, then the new tower was separated and shrunk.
Services (Store): The general store is the first service for the cities of Nova Utopia. The size of this was 3mx3m in Blender and 1x1 in-game.
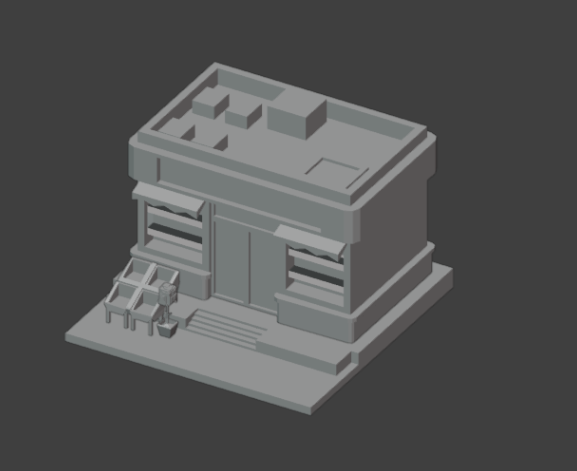
Yet again the foundation was a simple plane and then it was subdivided to split the face into a 1/4 and 3/4. The larger of the two was extruded higher than the other. Steps were added by adding three loop cuts to create a rectangle on the edge of the higher ground foundation. That new face was subdivided five times and each of those new faces were extruded downwards the next further than the previous face. The store walls were extruded upwards from the foundation with some insetting to add some shape to the walls and towards the roof. The top face of the building was inset and extruded downwards, and some roof detail was added. To make the windows, some squares were inset on the walls and then deleted to make an opening. Some depth was added by creating inner walls in the windows and a back wall, which then led to shelves being created by adding loops along the inner and back walls with these new edges being joined together. The door was created with the usual method and the window canopies were created by extruding the top of the window frames. The few details so far were created by starting with simple cubes and using extrusions and insets some faces and re-shaping and sizes those faces to get the shape for the baskets and the plant pot.
Waste Management (Sewage Plant): The first building appearance in the Waste Management category is the sewage plant. The size of this one sits at 6mx6m in the Blender modelling window equalling a 2x2 grid region in-game.
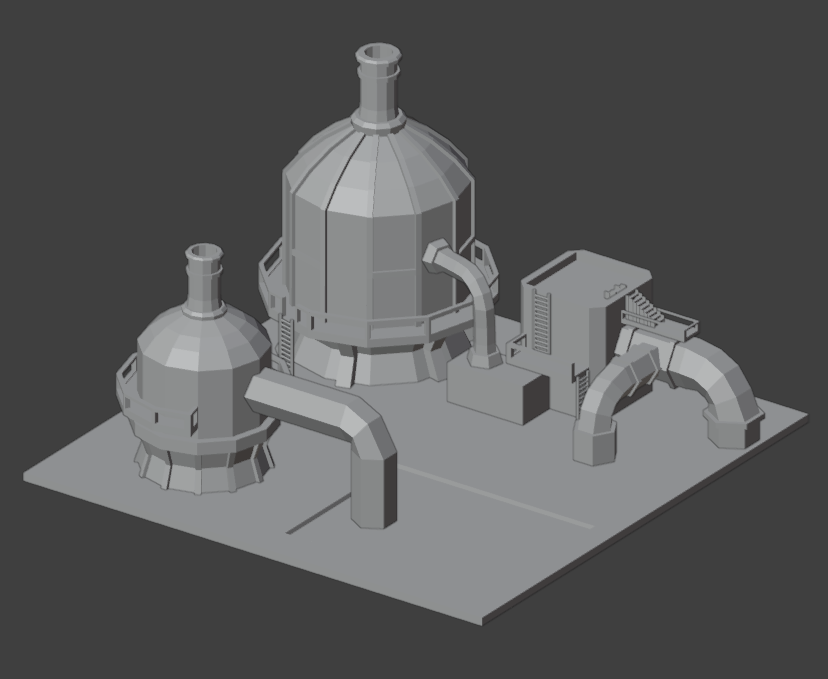
The foundation was created in the same way as the foundation from the Sawmill. The two large circular chambers were simple cylinders, which were shaped to be rounded and come together at the top to create the chimneys. The walkways were made by adding two horizontal loop cuts along the cylinders and then extruded outwards along normals so the width of each part was equal. The railings were created by adding a loop cut that ran around the whole walkway, with the new faces created being extruded upwards. The new extruded faces then had inset faces cut out and the holes patched up to create the railings that could follow the walkways round. The stairs were made with an array modifier just like in the previous models, and the tubes than ran away from the cylinder chambers were also cylinders rotated on their size and then extruded in certain directions. This model is the one that is in the earliest of development, so there is still a lot to come.
Energy Generation (Wind Turbine): The Wind Turbine is the first energy generation building to be created. This one was the smallest size at 3mx3m in Blender equalling 1x1 grid squares in-game. There are plans for many more models of energy generation buildings in the future such as solar panels and oil wells.
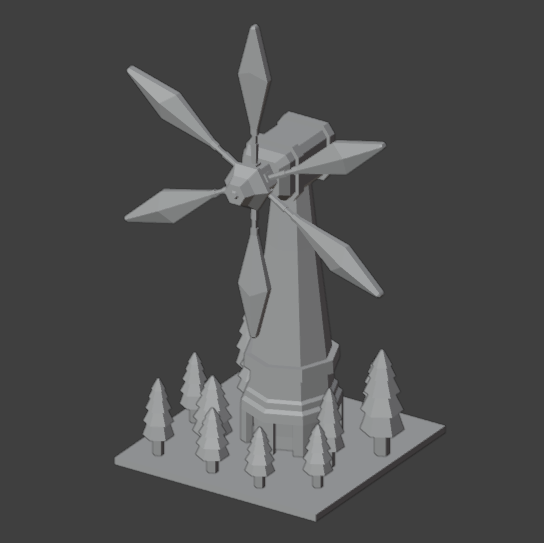
The foundation was a simple plane, and the turbine structure was started as a cylinder. The cylinder mesh was extruded and re-sized at intervals. Towards the bottom some loop cuts were added before fattening the new faces to make them stand out. The indents at the very bottom were made by deleting some inset faces and filling up some small holes before another face inset on the bottom face of the cylinder and extruding it down to have an inner main support. The motor was a separate cube, with some added bevels to the edges and some loop cuts and more fattening for more stand-out edges. A small axel was extruded from the motor, and a face was inset and extruded to make the long inner-frame of one of the blades. The end of the frame was fattened and then extruded into the diamond shape seen above, before bringing the middle vertices outward to add depth to the blade. The blade was then arrayed and rotated into place 5 more times. The tree decorations were simple cube meshed that were extruded, fattened and then extruded again and shrunk, over a few times to create the leaves of the tree.
There are any long and short-term plans for the future of this game, including many more building types, the potential for new planets and regions as-well as new ways to upgrade your infrastructure. But, for now a list of short-term and important next steps for the game are listed below in order of importance:
These are the immediate next steps for the development of the game. The steps after these would look like, starting to create upgraded versions on each buildings, incorporating more mechanics into the game such as the unique hazards and benefits of each region and making sure each available building can do its job properly.
This is the project deadline and the conclusion looking back on the work created throughout the first semester. Firstly, both this RSA project and the client project and opened opportunities for future paths and chances to really increase my skill levels. This specific game concept that I have created has really got me invested and could be an opportunity that I continue to explore and develop in the future, as I really think following the development of a game like this, will really benefit my skills and overall attitude to design work.
I think that this project has helped me to develop my basic modelling and ideation skills, as I have managed to create a solid design style to follow that can fit into a game concept I created perfectly. While the modelling was basic compared to the modelling done in the Client project, I still was able to learn new strategies like optimising the workflow of modelling through the use of things like array modifiers. I look forward to any new skills I can learn or develop through the pursuit of the development of this game in the future.